
How to Replace Cabinet Hinges with Soft Close: A Practical Step-by-Step Guide
- By:
- Date:2026/11/05
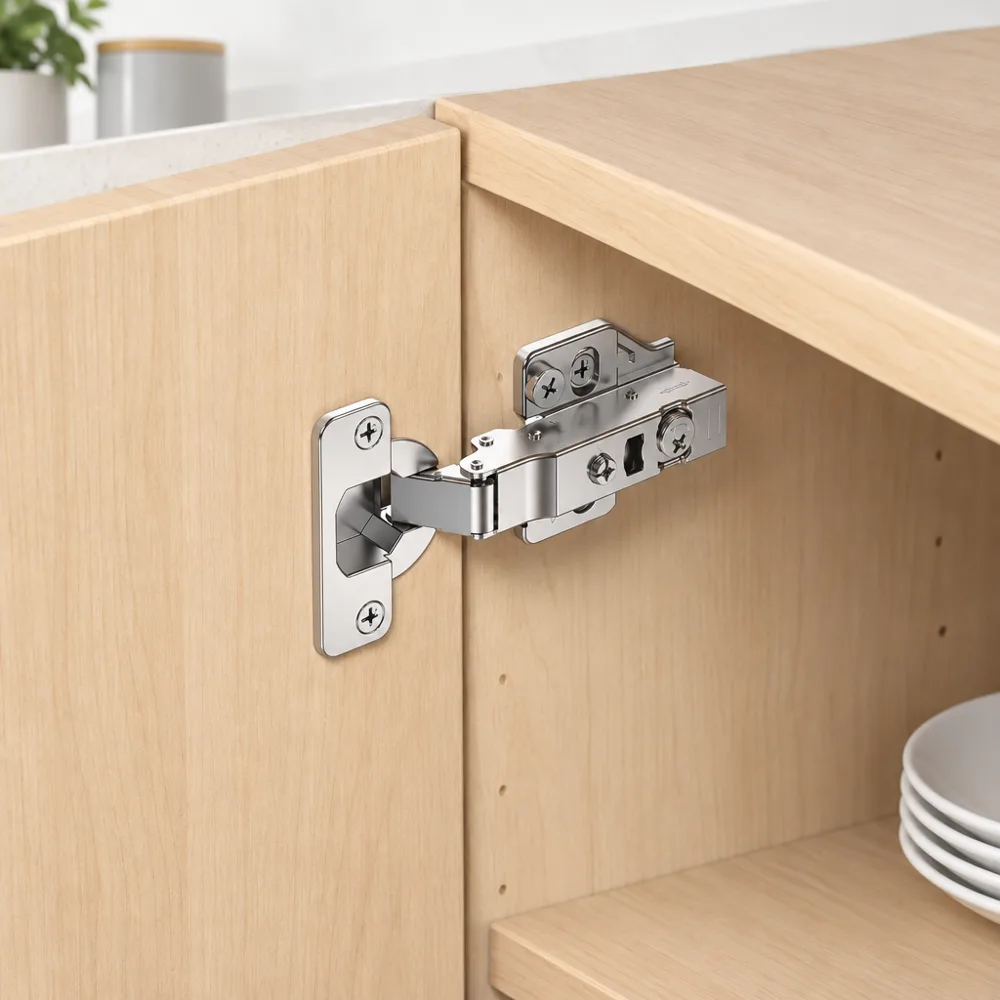
Learning how to replace cabinet hinges with soft close hardware is one of the most cost-effective ways to modernize a kitchen or bathroom. Nothing dates a room quite like the violent slap of wooden cabinet doors colliding with face frames. Beyond the jarring noise, repeated impacts stress screw threads, shake shelf contents, and gradually compromise the cabinet structure. Upgrading to compatible concealed hinges adds a soft-closing damping mechanism that slows the door near the end of its travel.
While swapping out hardware looks straightforward on paper, it often intimidates homeowners due to technical terms like cup depth, bore distance, and door overlay. The secret to a seamless transformation is understanding how your existing doors sit against your cabinet boxes. Once you verify compatibility and gather a few simple hand tools, you can execute this upgrade with surgical precision, even on a weekend DIY schedule.
Understanding Cabinet Construction and Hinge Geometry
Before you purchase replacement hinges, you must understand the mechanical foundation of your cabinetry. Installing the wrong hinge design will leave doors askew, unable to close fully, or binding against adjacent drawer fronts.
Face-Frame vs. Frameless Cabinet Architecture
Residential cabinetry generally falls into two distinct structural styles: face-frame and frameless. Face-frame cabinets incorporate a solid wood border fastened directly to the front perimeter of the cabinet box. For face-frame cabinets, the mounting plate attaches to the face frame in the position specified for the selected hinge; confirm compatibility before drilling.
Frameless cabinets, popular in contemporary and minimalist designs, lack this exterior wooden border. The hinge base plate fastens directly to the smooth interior sidewall of the cabinet box. Because the structural anchoring points are entirely different, face-frame hinges cannot simply be swapped into a frameless box without specialized adapters or entirely new pilot holes.
Determining Door Overlay and Inset
Overlay defines how far the cabinet door extends beyond the interior edge of the cabinet opening when closed. Inset doors sit entirely flush inside the opening, leaving the surrounding frame exposed. Full-overlay doors cover nearly the entire front frame or partition edge, creating a sleek, unbroken wall of cabinetry with minimal gaps between panels.
Partial-overlay configurations leave part of the face frame visible around each door. To measure your overlay accurately, close the cabinet door and place a strip of painter’s tape along the hinge-side edge on the cabinet frame. Open the door and measure the distance from the tape edge to the inner lip of the cabinet opening. This measurement is critical for selecting your hardware.
Checking Hinge Cup Diameter and Bore Depth
Concealed European-style hinges require a circular pocket, called a cup, drilled into the back face of the door. The vast majority of modern European hinges use a standard 35mm diameter cup, although smaller 26mm variations exist in light-duty furniture. Measuring your existing cup diameter prevents accidental misfits.
In addition to the diameter, you must confirm the cup depth and edge bore distance, often designated as the K dimension. If your cabinet door is relatively thin, a replacement hinge that requires a deep pocket could break through the decorative outer face of your door during installation.
Selecting the Proper Soft-Close Hardware
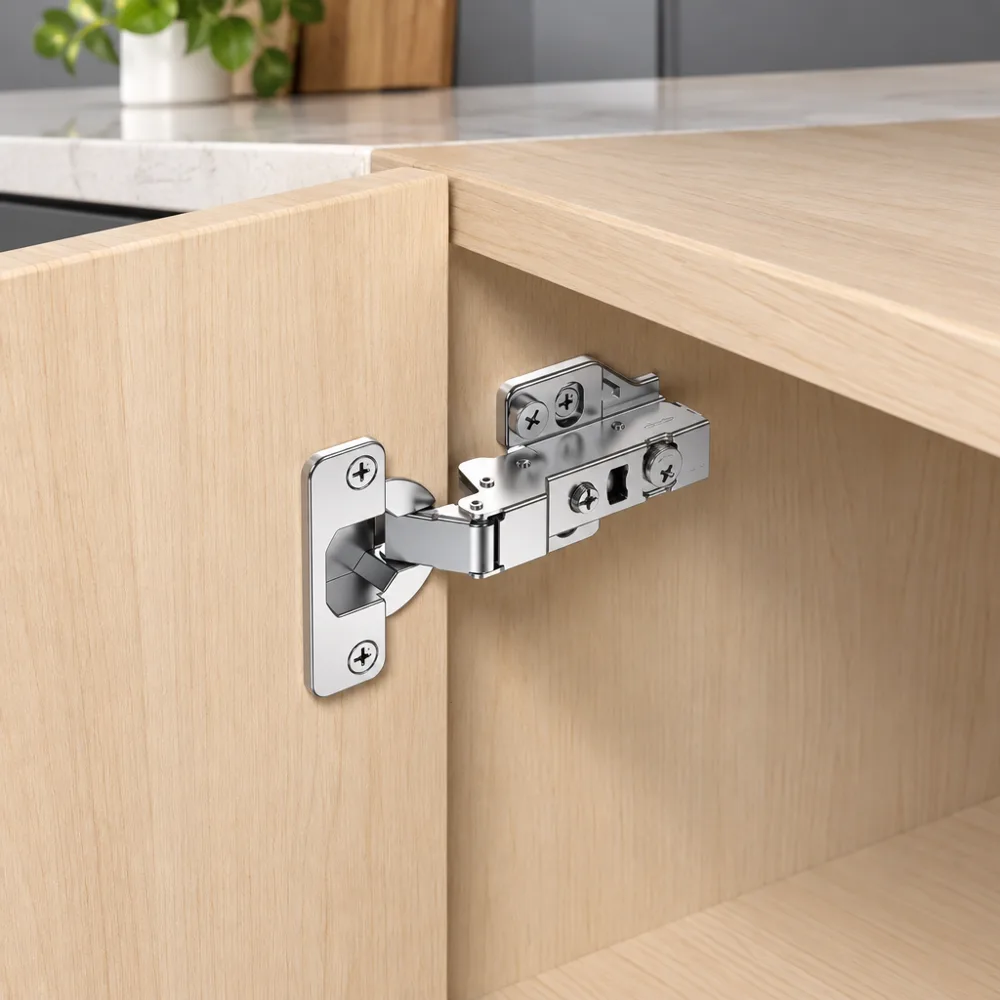
With exact measurements in hand, choosing the right hardware shifts from guesswork to matching engineering specifications. Premium soft-close hinges combine robust damping cylinders with durable mechanical linkages.
Technical Tolerances and Core Specifications
When evaluating soft-close replacement hinges, check the manufacturer’s technical thresholds to make sure they match your door panels. Hardware like the clip-on two-way A16 hinge provides a wide functional envelope suitable for residential projects.
| Technical Parameter | Specification / Tolerance | Application Significance |
|---|---|---|
| Hinge Cup Diameter | 35 mm | Common concealed-furniture hinge cup size |
| Cup Pocket Depth | 11.3 mm | Prevents punch-through on thinner doors |
| Supported Door Thickness | 14 mm to 22 mm | Accommodates standard solid wood and MDF |
| Opening Angle | 105° | Wide interior access without wall collisions |
| Drilling Distance (K Dimension) | 3 mm to 7 mm | Allows precise edge-to-cup margin positioning |
| Hole Pitch | 45 mm / 48 mm / 52 mm | Must match the hinge plate’s drilling pattern |
Selecting hardware that accommodates common dimensions ensures you will not have to re-bore your cabinet doors with a specialized Forstner bit. This saves time and minimizes structural wood removal. The hole pitch values listed must match the actual drilling pattern on your selected mounting plate; verify alignment against the installation instructions.
The Mechanics of Two-Force and Clip-on Designs
In many soft-close hinges, a damper slows the door during part of its closing movement; the mechanism and activation point vary by model. Advanced mechanisms incorporate what manufacturers describe as a two-force design, which balances both opening and closing resistance. This reduces physical stress on the hinge cup anchors and prevents the door from snapping open aggressively.
Clip-on mounting plates represent a significant leap forward for DIY installation. Instead of balancing a heavy door with one hand while struggling to turn a mounting screw, clip-on mechanisms allow you to secure the plate to the cabinet wall independently. The hinge arm on the door then snaps firmly onto the plate with light thumb pressure.
For high-humidity zones like master bathrooms and kitchen sink enclosures, material quality matters. The A16 uses iron components with copper-and-nickel plating; the supplied specification reports that it passed a 48-hour salt-spray test for rust prevention.
According to the company, Xiangxing was founded in 1987 and reported passing ISO9001:2000 quality-management certification and related SGS testing in 2000. The manufacturer’s two-way soft-closing hinge design was developed to reduce the risk of base-plate loosening and door shift during extended use.
Tools and Materials Checklist
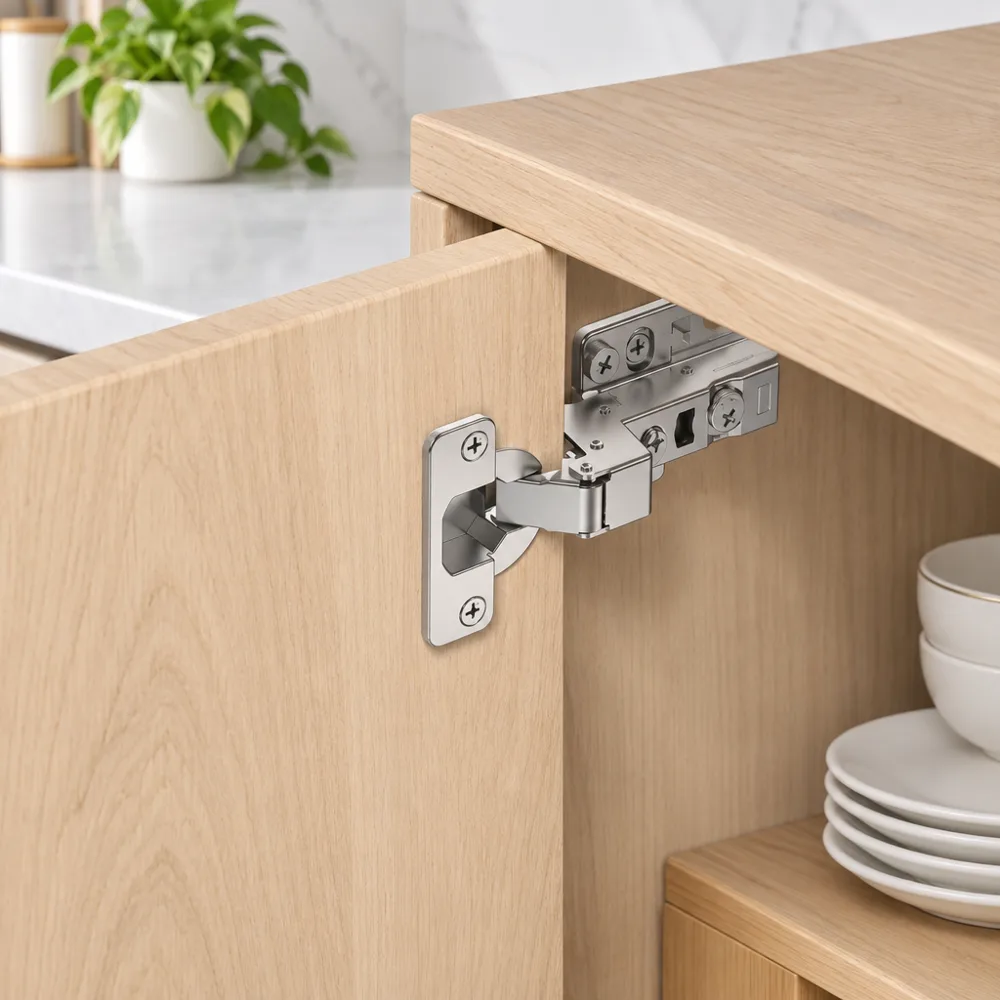
Gathering the correct tools before taking your cabinets apart prevents awkward delays while doors are detached. Most hinge replacements can be completed with ordinary household hand tools.
Essential Installation Kit
- Number 2 Phillips-head screwdriver (avoid high-torque impact drivers during initial alignment)
- Cordless drill with variable clutch and 1/16-inch or 2mm pilot drill bit
- Measuring tape and steel ruler calibrated in millimeters
- Self-centering drill bit (Vix bit) to align replacement mounting plate holes perfectly
- Clean painter’s tape and a sharp pencil for marking edge alignments
Remediation and Safety Supplies
- Hardwood dowels or wood golf tees and PVA wood glue for repairing stripped screw holes
- Microfiber towels and denatured alcohol to clean accumulated cooking grease behind old hinges
- Small plastic shims to level cabinet doors during re-attachment
- Clamping supports or a second pair of hands to stabilize tall pantry panels
Step-by-Step Guide: How to Replace Cabinet Hinges with Soft Close
Once you have confirmed your measurements and secured compatible hardware, you can begin the physical replacement process methodically.
Step 1: Label and Dismantle the Cabinet Doors
Begin by creating a clear layout map of your kitchen or bathroom. Use painter’s tape to label each door and its corresponding cabinet box position with numbers. Doors that look identical often feature slight variations in wear and settling that make cross-swapping problematic.
Support the bottom weight of the door with one hand or rest it on a folded towel. Unscrew the hinge arms from the cabinet frame or release the quick-disconnect tabs if present. Lay the removed door flat on a padded workbench to protect painted or varnished surfaces from scratches.
Step 2: Inspect and Prepare the Mounting Holes
Unscrew the old hinge cups from the door back and pull the hardware straight out. Clean away any sawdust, grease, or debris resting inside the 35mm circular mortise. Inspect the screw holes on both the door panel and the cabinet box frame.
If the old wood screws spin loosely or show stripped fiber damage, repair them immediately. Dip wooden toothpicks or cut hardwood dowels into wood glue, tap them firmly into the stripped holes, and slice them flush with a chisel. Allow the adhesive to cure before attempting to drive new mounting fasteners.
Step 3: Install the New Soft-Close Hinge Cups
Drop the new hinge cup into the 35mm door pocket, pressing it firmly until the mounting flange sits flush against the rear face of the door. Use a framing square or a straight metal ruler pressed against the hinge arm to ensure the hinge sits perfectly perpendicular to the door edge.
Once aligned, drill pilot holes using a self-centering bit to prevent walking. Drive the manufacturer-specified screws or suitable fasteners for the cabinet material firmly into place using manual screwdriver torque. Overtightening screws in engineered particleboard or MDF can strip the pilot holes instantly, so tighten until snug and stop.
Step 4: Mount the Base Plates and Hang the Doors
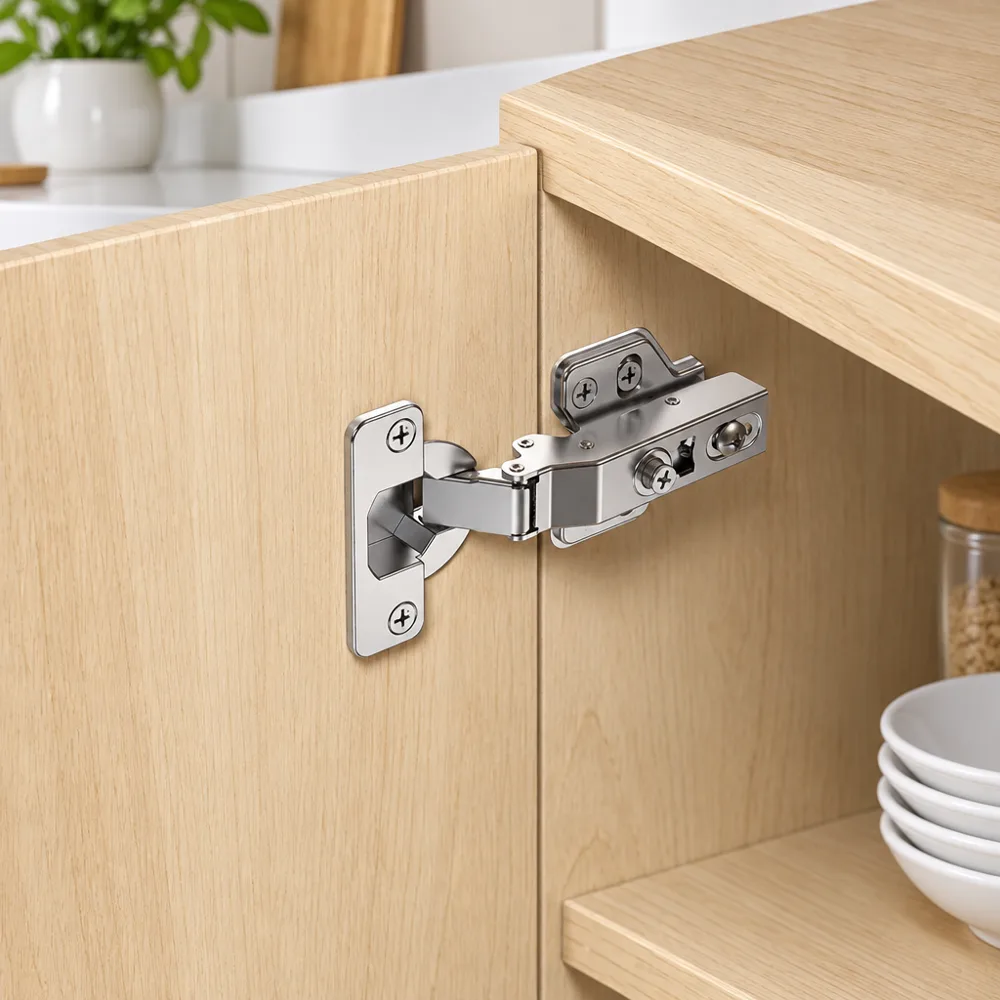
Fasten the replacement base plates to the cabinet frame or interior wall using your previous alignment marks. If the mounting pattern differs, hold the door in its closed position with temporary spacer shims underneath to mark fresh pilot holes on the cabinet stile.
If using clip-on hinges like the A16, align the front hooks of the hinge arm with the front lip of the mounting plate. Press firmly against the rear portion of the hinge arm until you hear a solid click. This confirms the locking mechanism has fully engaged without requiring awkward screw driving while supporting the door.
Fine-Tuning: Utilizing 3D Adjustment Capabilities
Rarely will a newly hung cabinet door sit perfectly square on the first attempt. Modern European hinges address this through multi-axis adjustments built directly into the hinge arm and mounting plate body.
Calibrating Lateral (Side-to-Side) Alignment
Use the hinge’s side-adjustment screw to change the overlay and side gap. Screw location and rotation direction vary by model, so make small adjustments while checking the door and follow the A16 manufacturer’s instructions. Adjust top and bottom hinges incrementally to eliminate wedged gaps between paired double doors.
Calibrating Vertical (Height) Alignment
Height adjustment is typically controlled by slotted screws on the cabinet mounting plate. Loosen the vertical locking screws slightly on both top and bottom plates, lift or lower the door panel until top reveals match adjacent drawers, and retighten firmly.
Calibrating Depth (In-and-Out) Alignment
The rear screw on the hinge arm controls how closely the door sits against the cabinet face frame when closed. Backing this screw out allows you to pull the door forward, preventing the door edge from binding against the cabinet frame when opened. Follow the hinge manufacturer’s adjustment instructions to achieve the appropriate clearance.
Troubleshooting Common Soft-Close Upgrade Issues
Even with careful preparation, hardware conversions can present minor mechanical hurdles during installation.
- Door bounces open slightly after closing: Check that the depth adjustment is not forcing the door against the cabinet, that bumpers are not over-compressed, and that the hinge is compatible with the door. Make small adjustments while checking the closing motion.
- Hinge fails to pull door completely shut: Oversized, heavy solid oak doors may overcome the damping resistance of standard soft-close cylinders. Confirm that your hinge model’s damping mechanism activates appropriately for your door weight and size.
- Doors bind or scrape against each other: Paired cabinet doors require balanced reveals. Check both doors with a level, loosen the lateral screws, and adjust the doors to an even, consistent center gap appropriate to your cabinet.
- Base plate pulls away from cabinet wall: If the substrate has deteriorated, do not rely on longer screws alone. Repair or reinforce the damaged material, or use a hinge-repair plate approved for the cabinet construction.
Frequently Asked Questions
Can I install soft-close hinges on old cabinet doors without mortised cups?
Yes, but doing so requires drilling new 35mm circular pockets using a handheld drill press guide and a Forstner bit. Alternatively, you can use a surface-mount face-frame soft-close hinge. Concealed cup hinges may provide more adjustment options when the cabinet, door, and hinge are compatible.
Do I need to replace every hinge on a door with a soft-close version?
Avoid mixing hinge types unless the hinge manufacturer specifically permits it, because different closing forces can produce uneven movement and inconsistent damping.
How do I know what size overlay to purchase?
Close the cabinet door and mark its outer edge on the face frame using a pencil or strip of tape. Open the door and measure the distance from the mark to the inside edge of the cabinet opening frame. This measured distance directly matches your required overlay specification.
What does a clip-on hinge mechanism do?
A clip-on mechanism separates the cabinet mounting plate from the articulated hinge arm. You can screw the plate into the cabinet and the cup into the door independently, snapping the two pieces together effortlessly without holding heavy tools while balancing the door.
Modernizing Your Cabinetry for Long-Term Value
A careful hinge replacement can reduce closing noise and improve door alignment, provided the hardware and cabinet construction are compatible. By verifying the cabinet architecture, matching hinge dimensions, and using the hinge’s 3D adjustments, you can achieve consistent door reveals. Learning how to replace cabinet hinges with soft close hardware protects your cabinetry from mechanical shock while restoring a sense of calm to your daily routines.
CONTACT US


GuangDong JinLi XiangXing Precision Metal Manufacturing Co., Ltd.
We are always providing our customers with reliable products and considerate services.
If you would like to keep touch with us directly, please go to contact us
-

Home
-

Tel
-

Email
-

Contact