
How to Align Cabinet Doors with Exposed Hinges: A Practical Troubleshooting Guide
- By:
- Date:2026/11/05
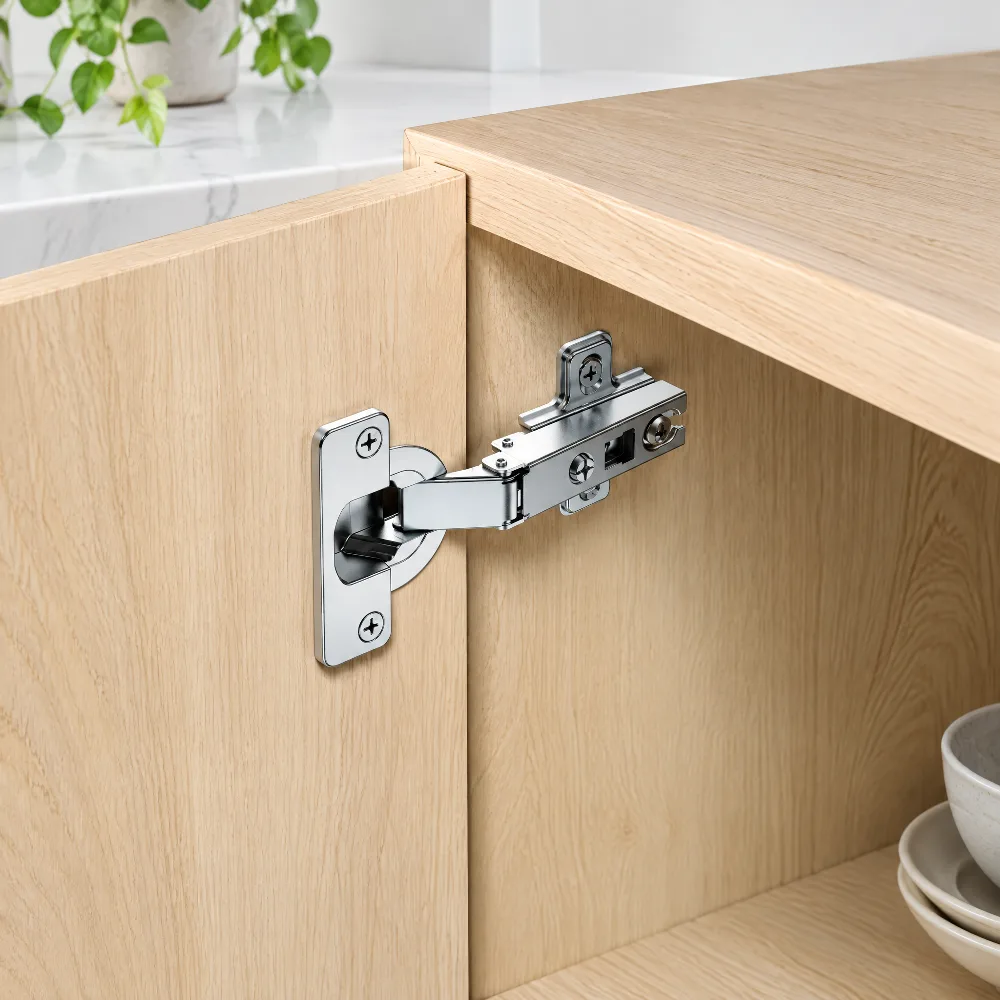
Few things disrupt the visual balance of a kitchen faster than a cabinet door hanging askew. A crooked front rubs against its neighboring face frame, scrapes off finish, and binds every time you try to shut it. When dealing with modern European concealed hardware, adjusting an offset front is often just a matter of turning a screwdriver. Knowing how to align cabinet doors with exposed hinges, however, requires a completely different mechanical mindset. The hardware style matters enormously because adjustment capability depends on the hinge design itself—some exposed hinges feature slotted mounting holes that allow repositioning, while others use fixed holes that require shimming or redrilling.
Traditional joinery relies on visible mechanical balance. When an exposed hinge drifts off its vertical or horizontal axis, gravity amplifies every millimeter of error across the entire width of the door panel.
Identify Your Exposed Cabinet Hinge Style
Before picking up any hand tools, you need to examine the exact physical hardware holding your door in place. Calling a piece of hardware an exposed hinge is a broad statement because visible hinges come in several distinct mechanical configurations. Misidentifying the mounting style will lead to stripped screw holes, damaged wood frames, and lingering frustration.
Defining Exposed, Semi-Concealed, and Concealed Hardware
A full surface-mount hinge sits completely on the exterior face of the cabinet frame and door stile. Every fastener and knuckle remains visible when the cabinet door stays closed. These fittings deliver timeless charm in vintage shaker or farmhouse kitchens, yet their adjustment options depend on whether the mounting holes are fixed or slotted.
Semi-concealed hinges present a different layout. One leaf mounts securely to the front edge of the cabinet face frame, while the second leaf fastens hidden behind the door edge. From the outside, you only spot the decorative pivot barrel and a small frame bracket.
Concealed hinges, by contrast, hide the entire hinge body behind the closed door panel. Understanding this distinction prevents you from applying concealed hinge adjustment techniques to traditional rigid metal leaves.
Inspecting for Elongated Adjustment Slots
Inspect the metal plates on your cabinet frame and door edge. Some semi-concealed hinges feature elongated oval screw slots rather than fixed circular holes. These oval slots act as rudimentary adjustment tracks, letting you slide the leaf vertically or horizontally before driving home a locking center screw.
If your hinges only have countersunk circular screw holes, the hardware is mechanically static. In this scenario, realigning the cabinet door requires either subtle leaf shimming or plugging existing screw holes to redrill fresh pilot holes. Consult the hinge manufacturer’s instructions if available, as adjustment methods vary by design.
Diagnose the Door Misalignment Issue
Proper alignment begins with diagnostic measurement rather than random screwdriver turns. Guessing the direction of drift often worsens the bind and twists the door core.
Assessing Perimeter Gaps and Diagonal Sag
Step back four feet from your closed cabinetry to inspect the perimeter reveal. Compare the gaps along all four edges of your door with the gaps on adjacent doors in the same cabinet row. The appropriate reveal depends on your door style, overlay or inset design, and the cabinet’s intended specifications.
When a door sags diagonally, the top corner furthest from the hinge drops, creating an uneven gap that pinches against the bottom frame. This visual pattern helps you identify whether the problem is vertical sag, horizontal tilt, or depth misalignment.
| Visual Symptom | Probable Mechanical Cause | Primary Correction Method |
|---|---|---|
| Top outer corner rubs lower face frame | Top hinge loose, pulled out, or bottom leaf sagging | Tighten top screws, shim bottom frame leaf |
| Door sits too low across entire width | Both hinge leaves slipped downward in slotted holes | Loosen vertical slots, elevate door, reset center screws |
| Door sticks out at top corner | Hinge leaf bent outward or frame racked out of plumb | Reposition hinge depth, tap knuckle, or shim frame |
| Door binds on face frame near hinge edge | Insufficient clearance gap between door back and frame | Insert thin shim behind cabinet-side hinge leaf |
Take note of whether the door drags along the floor of the cabinet or collides with its adjacent companion door. These clues pinpoint whether the fault lies in height, horizontal reveal, or planar depth.
Checking Door Depth and Inward Flushness
Look directly down the vertical sightline of your cabinet row. A misaligned cabinet door often sticks out proud at the top or bottom corner, failing to sit flush against the face frame. This defect indicates depth distortion.
Depth misalignment typically occurs when the cabinet frame twists out of true plumb, or when one hinge leaf binds against a thick coat of dried paint. When the door sits angled like a twisted plane, closing pressure transfers directly to the hinge pivot pin.
Inspecting Fasteners and Cabinet Box Plumb
Open the door slightly and grasp the outer edge, lifting gently upward. If you feel physical play or hear clicking at the hinge bracket, your fasteners have lost grip in the timber. No adjustment technique will hold until you restore solid anchor points.
Use a spirit level against the cabinet face frame. When older homes settle, cabinet boxes can rack slightly out of square, turning a rectangular opening into a subtle parallelogram that makes standard door alignment deceptively tricky.
Preparation and Safety Checklist Before Adjustment
Working on hanging cabinet doors requires steady support. Letting a door hang by a single screw while you tinker with the other bracket risks tearing the screw threads straight out of the stile.
Recommended Tools and Materials
Put away high-speed cordless impact drivers. Power drivers easily strip delicate screw threads in soft pine, medium-density fiberboard, or particleboard face frames. A set of manual hand screwdrivers gives you the tactile feedback needed to feel thread engagement.
Prepare a collection of basic workshop aids to simplify the job:
- Manual #2 Phillips and cabinet-tip flathead screwdrivers for controlled torque application
- Hardwood toothpicks, bamboo skewers, or small wood dowels for repairing wallowed screw holes
- High-tack PVA wood glue to lock wooden repair dowels firmly inside enlarged holes
- Thick paper card stock, plastic shims, or thin veneer strips for leveling hinge leaves
- Low-tack painter masking tape to hold shims in place and protect exterior cabinet finishes
Stabilizing and Supporting the Cabinet Door
Place flat wooden shims, wedges, or a stack of cardboard spacers beneath the bottom edge of the cabinet door before loosening any screws. This temporary foundation carries the door weight and keeps the hardware from dropping abruptly when you loosen the mounting screws.
If working on upper wall cabinetry where floor shimming is difficult, use a quick-grip clamp wrapped in soft microfiber cloth to steady the door against the interior shelf. This simple precaution frees both hands for precise screwdriver control.
Step-by-Step Guide: How to Align Cabinet Doors with Exposed Hinges
Once the door is secured and the diagnostic path is clear, you can proceed through systematic adjustments. Adjusting one axis at a time prevents compounding errors across the face frame.
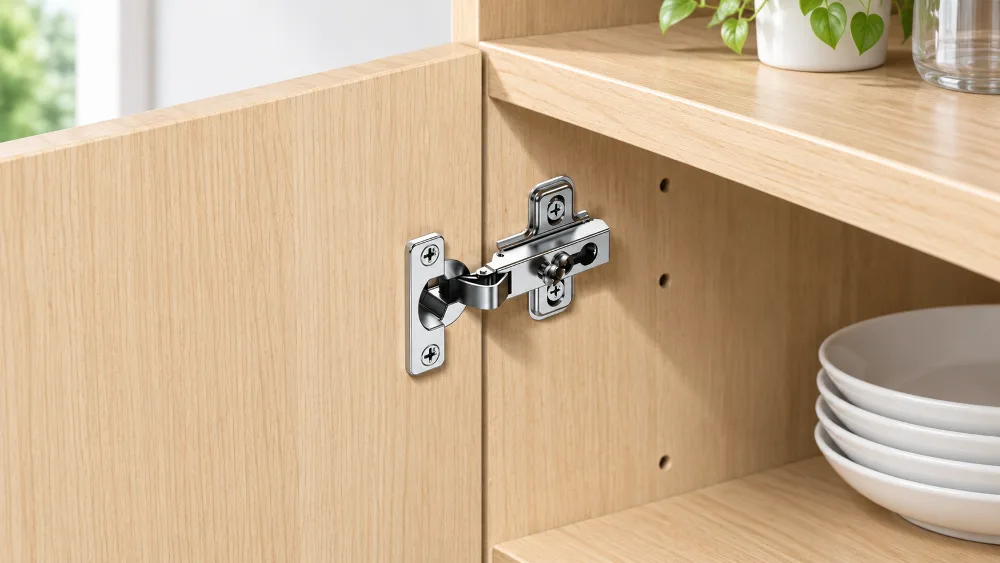
Vertical Alignment: Raising or Lowering the Door
When your door sits too low or scrapes along the lower cabinet ledge, vertical adjustment is your first priority. Follow these mechanical steps:
- Support the door firmly underneath with shims to hold your target reveal line.
- Loosen the vertical mounting screws on the cabinet frame leaf by roughly one full turn.
- Gently tap the hinge leaf or door upward until the top reveal aligns with adjoining doors.
- Snug the top hinge screw first, followed by the bottom hinge screw, checking that the gap remains steady.
- If the hinge has dedicated center locking holes, drive the final locking screw only after the height is proven.
If your hinges use fixed circular holes without slotted tracks, do not try to force the screws diagonally. Instead, support the door, remove the screws, plug the pilot holes with glued dowels, and redrill fresh pilot holes at the corrected position. Mark the new hinge location carefully to ensure the new hole does not overlap the damaged hole and that adequate wood remains for secure fastening. Consult the hinge manufacturer’s installation guide for proper positioning.
Horizontal Alignment: Correcting Side-to-Side Tilt and Reveal
A door that leans away from the hinge side typically indicates that a fastener or anchor point has failed. Start by checking the top and bottom hinge fasteners carefully. If either hinge shows loose screws or signs of slippage, tighten them and retest the door reveal.
If fasteners are already tight but the door tilts, check whether the mounting planes of the upper and lower hinges are aligned. Inspect both hinge leaves with a level or straightedge to detect whether one hinge is installed deeper or shallower than the other, which can cause the door panel to twist.
Only after confirming that fasteners are secure and mounting planes are roughly aligned should you consider shimming. If shimming becomes necessary, insert a thin cardboard spacer behind the hinge leaf to reposition its mounting plane. Shimming changes the stand-off distance and door plane; test the results carefully by opening and closing the door several times to confirm the correction.
Depth Alignment: Eliminating Binding and Face Rubbing
When a cabinet door rubs against the hinge-side frame, locate the exact contact point first. Open the door partway and observe where friction occurs. The binding might be at the door edge, the back corner, or the hinge knuckle itself.
If the door back edge touches the frame, loosen the mounting screws of the hinge leaf securing it to the cabinet frame. Before shimming, verify that the hinge mounting plate sits flat and parallel against the frame surface. If the plate is warped or tilted, address that first. Only if the installation surface is sound should you insert a thin card stock spacer to adjust the hinge’s stand-off distance.
Check the reveal as the door swings. The back edge should clear the frame smoothly without pinching, preserving both the decorative paint and the hinge leaf from stress.
Final Fastening and Cycle Testing
Never torque a single screw to maximum tension while the others remain loose. Tighten each fastener gradually in an alternating pattern, applying firm, even pressure to seat the countersunk screw head flush into the hinge leaf.
Open and close the cabinet door ten consecutive times. Watch the reveals closely at full latch and mid-swing. A properly aligned door swings smoothly, exhibits no spring-back resistance, and rests parallel against the cabinet box.
Troubleshooting Persistent Alignment Failures
Sometimes, standard loosening and shimming routines fail to stabilize an out-of-square door. In older installations, decades of opening cycles wear down wood fibers and twist metal components.
Repairing Stripped Screw Holes in Solid Timber and Engineered Boards
Loose screws that turn endlessly without tightening are the most common source of recurring misalignment. The screw threads have stripped the surrounding wood fibers, allowing the hinge to sag under the door weight.
The wooden-dowel method works best when the damage is localized and the wood surrounding the hole remains intact. To repair a lightly wallowed hole, remove the hinge screw completely. Dip two or three hardwood toothpicks or a small whittled dowel into PVA wood glue and press them firmly into the stripped cavity. Trim the wooden splinters flush with a utility knife.
Allow the wood glue to cure according to the adhesive manufacturer’s instructions before reinstalling the hinge. Premature screw insertion can compromise the repair. Once cured, drive the mounting screw directly into the reinforced core.
For severely damaged or crushed holes, especially in engineered board materials, the traditional dowel method may prove insufficient. Consider using a screw-repair insert kit or a larger wooden dowel with epoxy suited to the board type. These methods provide more reliable hold under repeated opening and closing stress. Follow the repair product’s instructions, and consult the hinge manufacturer if repositioning becomes necessary.
Addressing Bent Hinge Knuckles and Metal Fatigue
Over the years, doors that have been bumped or pushed past their natural stop can develop bent hinge knuckles. When the cylindrical metal loops around the hinge pin twist, the door cocks sideways even if the screws are seated tight.
Inspect the cylindrical hinge barrel with a straightedge. If the knuckles are splayed, you can gently tap them back into alignment using an adjustable wrench clamped over the leaf or a wood block struck lightly with a dead-blow mallet. If the metal has developed hairline stress cracks, replace the hinge immediately.
Warped Cabinet Doors and Racked Boxes
Before condemning your hinge hardware, verify that the door panel itself is flat. Lay a straightedge diagonally across the face of the door from corner to corner. If the center bows inward or one corner rises dramatically, the wood slab has warped.
A warped door cannot be permanently aligned through hinge repositioning alone. Minor warps can sometimes be balanced by repositioning magnetic catches or adding rubber bumpers, but severe warps require panel flattening or replacement.
When to Upgrade: Modern Hinges with 3D Adjustment
While mastering how to align cabinet doors with exposed hinges solves everyday alignment headaches, traditional surface hardware has physical limitations. Frequent seasonal humidity shifts make wooden frames expand and contract, meaning fixed-hole hinges may require seasonal recalibration.
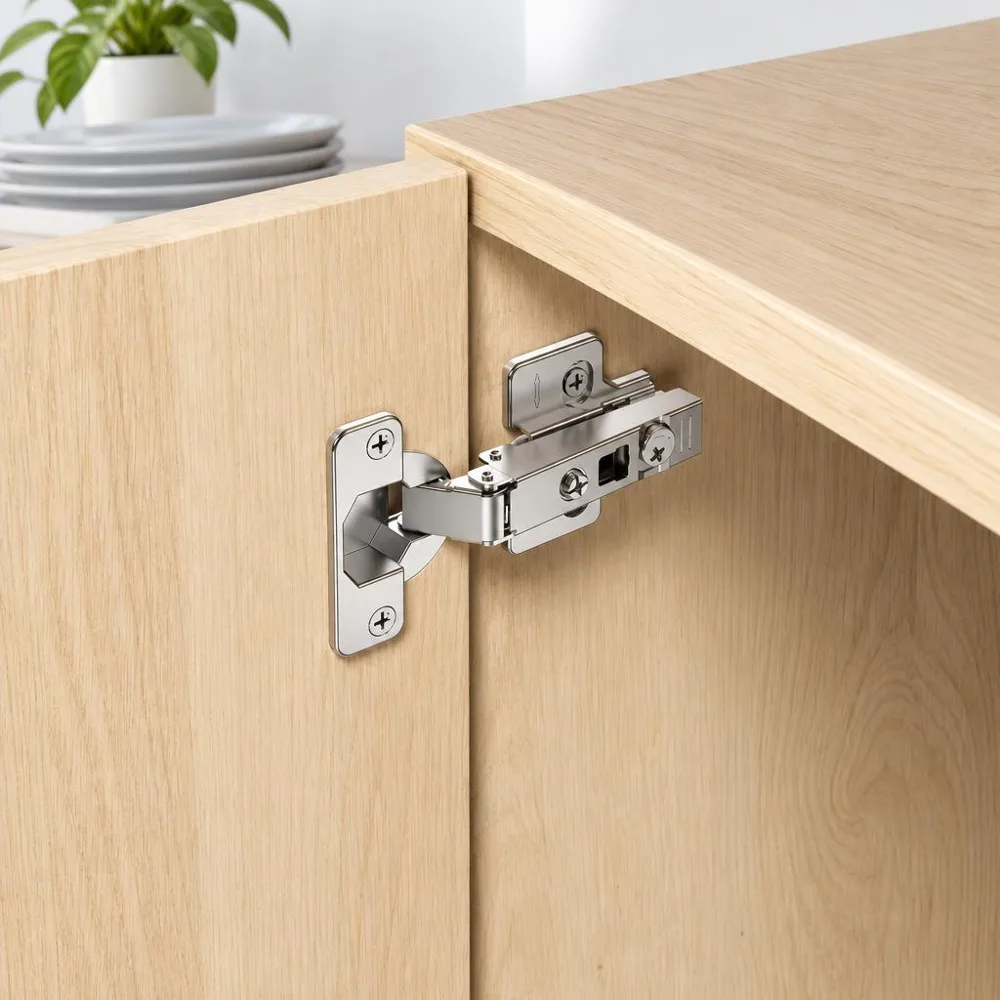
For homeowners remodeling older units or building new casework, upgrading to modern concealed hardware provides long-term precision and eliminates tedious shimming.
Mechanical Advantages of Multi-Directional Adjustment
Some modern concealed hinges permit adjustment across multiple axes. Depending on the hinge model, these adjustments might include vertical positioning through loosened mounting screws, lateral positioning through slotted holes, and depth adjustment through modular arms or spacers. Check your specific hinge’s instructions for the adjustment methods available.
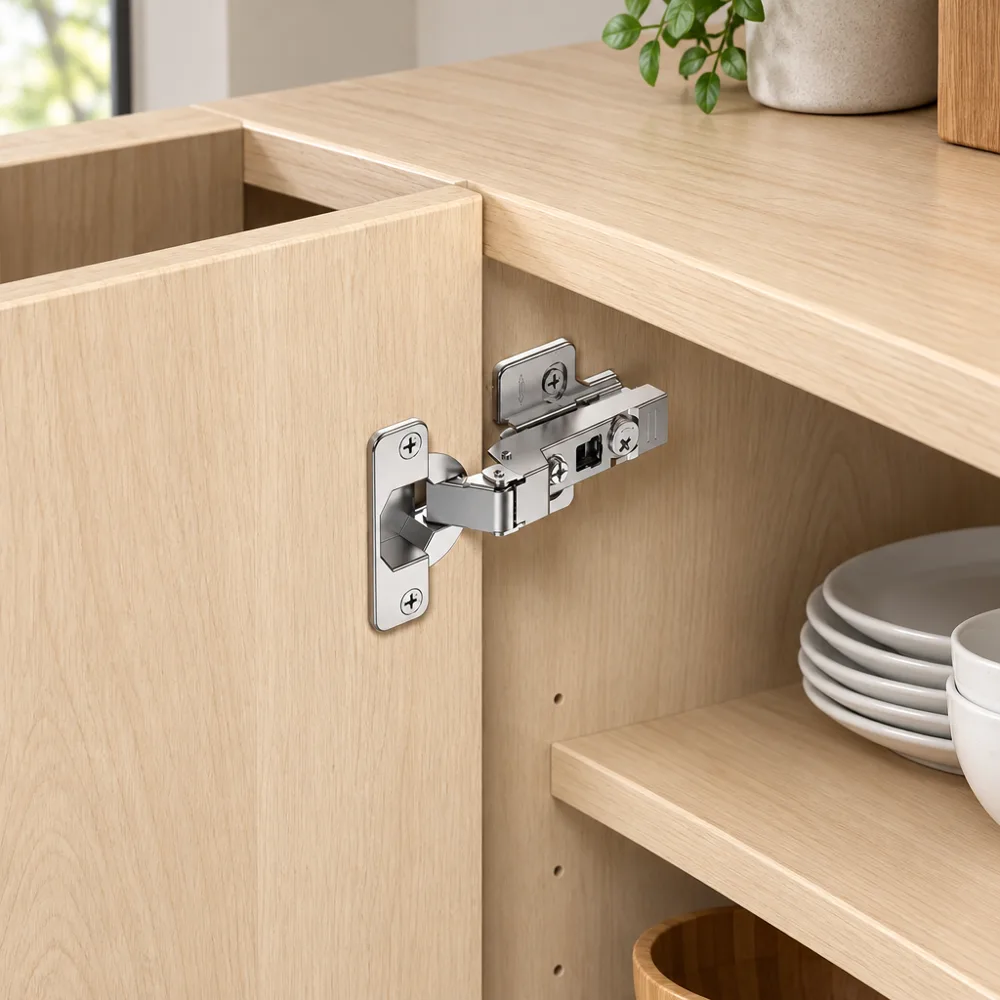
Many modern concealed systems also incorporate soft-closing dampers that absorb closing momentum, protecting the door panel and reducing kitchen noise during normal use.
Advanced Hardware Engineering: The B20 Solution
For high-traffic cabinetry where stability and ongoing adjustment capability are important, modern hardware like the Clip-on 3D Adjustment Regular Furniture Cabinet Door Hinge (Two-way) B20 offers functional advantages over fixed-hole exposed hinges.
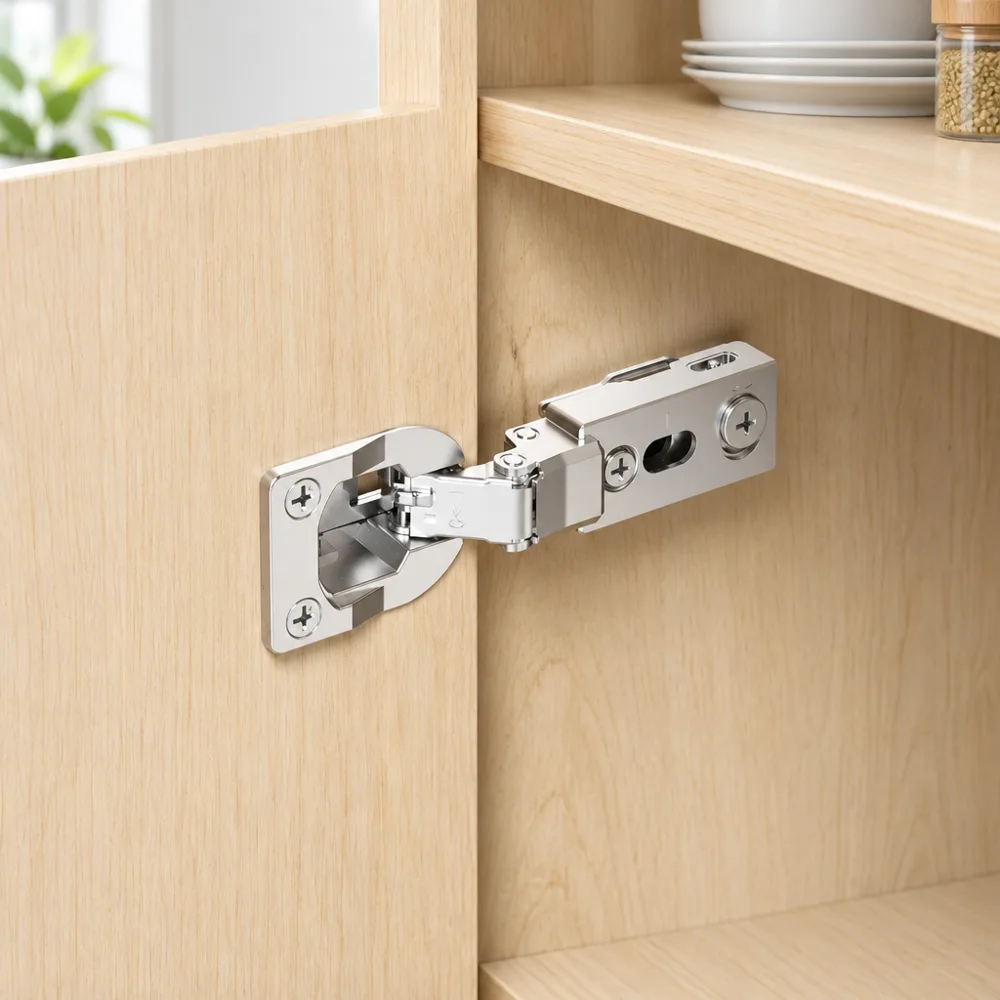
The B20 is constructed from iron with protective double surface plating featuring a copper undercoat and nickel finish. According to product specifications, it passes a 48-hour salt spray test. Its connection parts undergo heat treatment to increase hardness, wear resistance, and fatigue strength. The hinge incorporates a two-force design intended to manage both opening and closing forces, reducing load strain against the hinge cup.
| Technical Parameter | Specification / Performance Standard |
|---|---|
| Hinge Type | Two-way furniture soft-closing cabinet hinge |
| Opening Angle | 110° |
| Cup Diameter & Depth | Ø35 mm cup diameter, 11.3 mm mortise depth |
| Door Thickness Range | 14 mm to 22 mm panel compatibility |
| Door Margin (K Dimension) | 3 mm to 7 mm edge bore distance |
| Mounting Hole Pitch | 45 mm / 48 mm / 52 mm configurations |
| Surface Treatment | Double plating (copper base + nickel protective layer) |
| Mechanical Adjustment | 3D screw adjustment |
The B20 uses clip-on installation and screw-based adjustment for positioning. At Xiangxing, where precision manufacturing has been refined since our founding in 1987 in Gaoyao, Guangdong, modern furniture hardware systems are engineered to provide ongoing adjustment capability without the need for repeated shimming or hole modification.
Hardware Selection Matrix
Choosing the right hardware depends on your cabinet construction, aesthetic goals, and maintenance expectations.
- Traditional Surface Butt Hinges: Authentic period look for historic homes, but require manual shimming and hole-plugging for any alignment adjustments.
- Semi-Concealed Face-Frame Hinges: Classic American face-frame styling with slotted vertical adjustment where available, but limited lateral and depth control on fixed-hole models.
- Clip-on 3D Concealed Cup Hinges: Clean contemporary appearance, clip-on mounting, and screw-based adjustment for fine-tuning across the cabinet’s service life.
Frequently Asked Questions
Can I adjust exposed cabinet hinges without removing the door?
Yes, in many cases you do not need to take the door down. If your exposed hinges have slotted screw holes, simply support the door weight with shims and loosen the screws slightly to adjust height or tilt. Even when inserting cardboard shims behind a hinge leaf, you often only need to remove the screws on that single leaf while keeping the companion hinge loosely attached.
Why does my cabinet door keep sagging shortly after tightening the screws?
When a door sags repeatedly, the mounting screw threads have likely stripped the internal wood fibers of the cabinet frame. The screw turns until it feels tight against friction, but it lacks structural purchase in the wood core. Repairing the screw hole with wood glue and wooden dowels can help restore anchor strength, particularly when the surrounding wood remains intact. For heavily damaged board material, a screw-repair insert or a dowel with appropriate epoxy may be necessary.
How do I know if the hinge or the cabinet door is warped?
To determine the root cause, remove the door and lay it on a known flat surface, like a granite countertop or sturdy workbench. If the door panel rocks diagonally, the wood has warped. If the door lies perfectly flat, check the hinge leaves with a level or straightedge; twisted leaves or a bent pin are holding the door out of alignment.
What is the best material for shimming an exposed hinge?
Dense, incompressible materials work best for hinge shimming. Thin cardboard from business cards, hard plastic packaging shims, or wood veneer strips are ideal. Avoid soft corrugated cardboard or foam tapes, as they compress unevenly under door weight and cause the hinge to loosen over time.
Can I replace exposed hinges with concealed hinges on existing cabinets?
Yes, but the retrofit requires woodwork modifications. You will need a 35 mm Forstner drill bit to bore hinge cup mortises into the back of the door panels, and you will need to fill and touch up the old screw holes on the cabinet face frame. The result is soft-close action and screw-based adjustment capability.
Conclusion
Learning how to align cabinet doors with exposed hinges requires a systematic diagnostic approach and a steady hand. By taking the time to identify your hardware type, assess gap reveals carefully, and correct misalignment using shimming, fastener repair, or repositioning, you can restore crisp, uniform sightlines to your cabinetry. For older installations prone to frequent shifting, upgrading to modern hardware with multi-directional adjustment capability delivers ongoing precision and smoother day-to-day operation across all your living spaces.
CONTACT US


GuangDong JinLi XiangXing Precision Metal Manufacturing Co., Ltd.
We are always providing our customers with reliable products and considerate services.
If you would like to keep touch with us directly, please go to contact us
-

Home
-

Tel
-

Email
-

Contact