
How to Align Cabinet Doors with Exposed Hinges: A Practical Troubleshooting and Adjustment Guide
- By:
- Date:2026/11/04
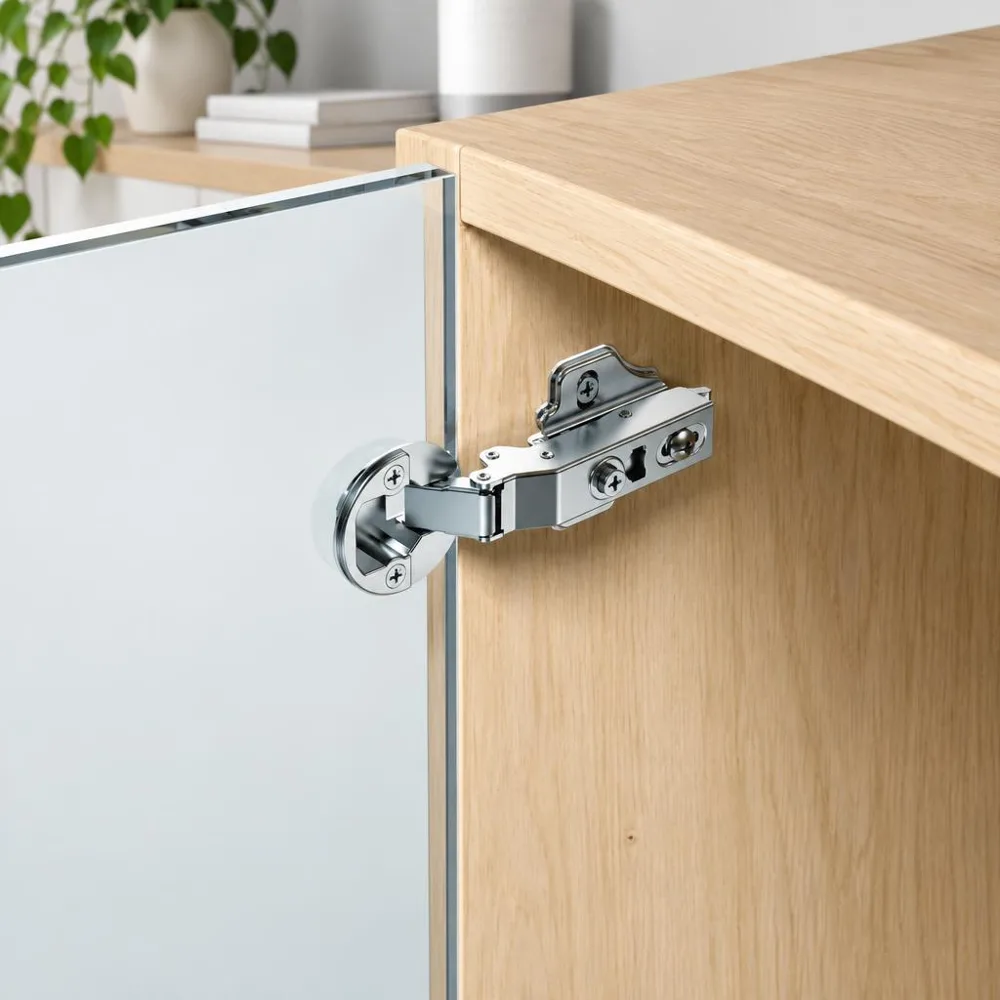
Cabinet doors that hang crooked or scrape the face frame are a daily irritation, and the fix depends on the hardware. If you are learning how to align cabinet doors with exposed hinges, the approach differs from adjusting concealed European cup hinges. Cup hinges have built-in adjustment screws. Many traditional exposed hinges use a fixed pivot and lack those screws, although some have slotted mounting holes that allow limited adjustment. Alignment comes from where the hinge sits, how firmly its screws hold, and whether a thin shim tilts it.
This guide explains how visible cabinet hinges work, how to find the real cause of a misaligned door, and which repairs to try first. It moves from the least invasive fixes to structural repairs, and ends with the option of switching to adjustable concealed hinges. Working in that order protects face frames and finishes from damage you would later have to repair.
Diagnostic First: Understanding Exposed Hinge Mechanics vs. Concealed Systems
Before you pick up a screwdriver, identify the hinge you are working with. An exposed hinge rotates around a pin with a fixed position. That fixed pivot is why the door stays put for years, and also why it cannot be nudged into place with a simple screw turn. The hinge type decides which of the repairs below will work.
Defining Exposed, Semi-Concealed, and Surface-Mounted Hinges
Visible cabinet hinges fall into a few groups, sorted by where the two leaves attach. Surface-mounted hinges fasten both leaves to the outside faces of the frame and door, so the whole hinge shows. Butt hinges have flat leaves set into shallow recesses, called mortises, cut into the edges of the door and frame. With the door closed, only the round knuckle and pin remain visible.
Semi-concealed hinges sit between the two. The frame leaf usually shows on the face frame, while the door leaf hides on the back of the door. This distinction matters before you start. It tells you whether your adjustments will happen on the finished exterior surfaces, inside a mortise, or behind the door where marks will not show. Each hinge type has its own adjustment limits, so identifying yours correctly guides the repair path.
Why Traditional Exposed Hinges Lack Built-in 3D Adjustment Screws
A concealed European hinge uses eccentric cam screws to move the door along three axes after installation. A traditional exposed hinge is simpler. It consists of two metal leaves joined by a pin, and it has no screws for fine adjustment once it is mounted. Some exposed, butt and semi-concealed hinges do have slotted mounting holes, which give a small amount of positional adjustment along the length of each slot.
Because the pin sits at a fixed distance from the mounting surface, most changes in door position require physical work. You can slide the hinge within slotted holes, move the screws, shim behind a leaf, deepen a mortise, or follow the manufacturer’s instructions for any recommended adjustments. Forcing the door into position without changing how the hinge sits tends to strain the pin and can make the door bind.
Common Symptoms: Sagging, Rubbing Face Frames, and Uneven Reveals
Misalignment usually shows up in one of three ways. The most common is sag. The top outer corner of the door drops, so the bottom edge on the opening side drags on the frame or rubs a neighboring door. Over time, the weight of the door and anything stored on it pulls on the hinges, and the droop becomes visible.
The second symptom is an uneven reveal, meaning the gap around the door narrows toward one end instead of staying parallel. The third is a hinge-bound door. Here the hinge side presses against the cabinet before the door is fully closed, so the door springs back open or only shuts with a firm push. Binding often occurs when screw heads sit proud of the leaf or when a mortise has been cut too deep.
Pre-Alignment Inspection: Pinpointing the Root Cause of Misalignment
If you adjust a door without knowing why it moved, it will usually move again. Doors rarely drift without a cause. Loose fasteners, worn hinges and a cabinet box that has shifted are the usual suspects, and each one calls for a different repair. Check them in the order below, starting with the cabinet, because each check rules out a cause before you touch the hardware.
Checking Cabinet Plumb, Level, and Square
Start with the cabinet itself. Hold a torpedo level against the vertical stiles to check plumb and against the horizontal rails to check level. Then check square by measuring the two diagonals of the cabinet opening, corner to corner. Equal diagonals mean the box is square, and a framing square held in each corner gives a quick second check.
If a wall cabinet has racked because of loose mounting screws or a settling wall, the diagonals will differ and the door will look crooked even when the hinges are fine. Correct the box first. Loosen the wall screws slightly, slip tapered shims behind the cabinet where needed, and retighten once the diagonals match and the level reads true. Adjusting hinges to suit a twisted cabinet creates a poor door swing and uneven wear on the hardware. A square cabinet is the foundation for any hinge adjustment that holds.
Identifying Stripped Screw Holes and Loose Fasteners
Once the box checks out, move to the fasteners. Open the door halfway, hold the outer edge, and lift gently while watching the hinge leaves. If a leaf moves while the wood behind it stays still, its screws have lost their grip. This play between the leaf and the mounting surface is often the first sign of stripped threads.
Stripped holes are a common cause of sudden sag on exposed hardware. When the wood fibers around the threads break down, the screw keeps turning without tightening. The door’s weight then pulls the leaf downward a little more with every swing. Catching this early, before the hole widens further, makes the repair simpler and more durable.
Inspecting Hinge Leaves, Knuckles, and Pins for Wear
The hinge itself can also wear out, especially on doors opened many times a day. Look for vertical play in the knuckles, metal dust near the pin, or a pin that has bent. Thin stamped hinges carrying heavy solid wood doors are the most likely to show this kind of wear. Rust on the pin or barrel is another warning sign in damp rooms, since it can make the hinge stiff and uneven to swing.
A worn knuckle or a pin that leans out of vertical cannot be cured by tightening screws. Replace the damaged hinge with one of the same size and screw pattern before you move on to alignment. Otherwise each adjustment will fade as the worn parts shift. Matching the new hinge to the old screw holes saves time and avoids additional woodwork.
Step-by-Step Techniques: How to Align Cabinet Doors with Exposed Hinges
With the cause identified, you can choose a repair. The decision sequence below shows how to align cabinet doors with exposed hinges, starting with the gentlest fix and moving toward structural repairs only when needed. Each step assumes the cabinet box is already square, so a hinge change will not be fighting a racked frame.
- Check the mounting screws first. If they are loose and the hinge has slotted holes, use Method 1.
- If a screw spins without tightening, rebuild the hole with Method 3 before any other adjustment.
- If the screws are firm but the door sags or the reveal is uneven, test a shim with Method 2.
- If the screws are firm and the door binds on the hinge side, check that the screw heads sit flush and the mortises are not too deep, then follow the hinge maker’s guidance before any other change.
Method 1: Utilizing Elongated Slotted Mounting Holes for Vertical Play
Some semi-concealed and partial-wrap hinges have oval or elongated slots in the frame leaf. These slots allow a small amount of movement along their length without drilling new pilot holes. Check which direction the slots run, since that tells you whether the hinge can move up and down, side to side, or both. Try this before anything more involved.
- Support the bottom of the door with wooden wedges or an inflatable shim so the hinges no longer carry its weight.
- Loosen the screws in the slots by about one turn. Do not remove them.
- Move the door in the direction the slots allow until the gaps line up with neighboring doors and drawer fronts.
- Tighten the slot screws firmly. If the hinge also has round fixed holes, drive screws into those to lock the position.
Method 2: Shimming the Hinge Leaves to Correct Reveal and Sag
When there are no slots, a thin shim behind a hinge leaf can tilt or shift the door. Heavy cardstock, a business card or thin plastic laminate all work as shim material. The result depends on the hinge geometry: which leaf you shim, door side or cabinet side, whether the shim covers the whole leaf or only one edge, and how deep each mortise is. A shim in the wrong place can push the door the wrong way or make it bind.
Before you cut anything, confirm the hinge structure and check the manufacturer’s adjustment instructions if they are available. Then make one reversible test with a single thin layer and judge the result by watching the gaps. Surface-mounted hinges respond differently from mortised ones, since a shim there mainly stands the door off the frame, so repositioning the screws is often the better fix for them. For mortised butt hinges, work through these steps:
- Support the bottom of the door so neither hinge carries its full weight.
- Decide, from the hinge geometry or the manufacturer’s instructions, whether the shim belongs behind the door-side or cabinet-side leaf, and whether it should cover the full leaf or only one edge.
- Remove the screws from that leaf only, while the other hinge stays fastened.
- Cut a single thin shim to the chosen size and punch clean holes where the screws pass through.
- Slip the shim behind the leaf, reinsert the screws, and tighten them evenly.
- Close the door and check the gaps. If the door moved the wrong way or started to bind, remove the shim and try a different placement.
Because the outcome varies from hinge to hinge, the table below lists what to confirm and what to watch for during each test rather than a fixed answer. Use it to judge whether a placement helps, and keep the change only if the reveal improves along its full length and the door still closes without pressure on the hinge side.
| Symptom | Confirm First | Test Adjustment | Keep the Change If |
|---|---|---|---|
| Outer corner sags | Screws are firm and the cabinet is square | One thin shim, placed according to the hinge geometry | The top and bottom gaps become parallel |
| Outer corner sits high | Screws are firm and the cabinet is square | One thin shim, placed according to the hinge geometry | The top and bottom gaps become parallel |
| Hinge-side gap is uneven | Hinge orientation and mortise depth | Shim the appropriate leaf or reposition the hinge | The gap evens out without binding |
| Door binds on the hinge side | Screw heads sit flush and mortises are not too deep | Seat the screws fully, or follow the maker’s guidance | The door closes without springing back |
Method 3: Remedying Stripped Wood Screw Holes with Dowels or Fillers
A screw that spins freely will not hold any alignment, so the hole must be rebuilt first. Toothpicks and glue can work for a lightly used door. For a door that swings many times a day, a glued hardwood dowel or plug gives the screw solid wood to bite into. Before drilling, make sure there is enough sound wood around the hole, away from the edge, any hinge cup boring and nearby screw holes.
- Remove the door by unscrewing the hinges from the cabinet, then work on whichever side has the stripped hole.
- Choose a drill bit and hardwood dowel or plug that match the damaged hole and the thickness of wood available. A 1/4-inch dowel is a common example for small cabinet hinge screws, not a standard size for every door.
- Drill out the damaged hole just enough to leave a clean, round opening.
- Coat the dowel with PVA wood glue and tap it into the hole.
- Let the glue dry according to the manufacturer’s directions. Overnight is the safest choice before you drive a screw.
- Trim the dowel flush with a sharp chisel.
- Hold the hinge in position, mark the screw centers with an awl, and drill new pilot holes slightly smaller than the screw’s core diameter.
When Physical Adjustments Fail: Upgrading to Precision Adjustable Hardware
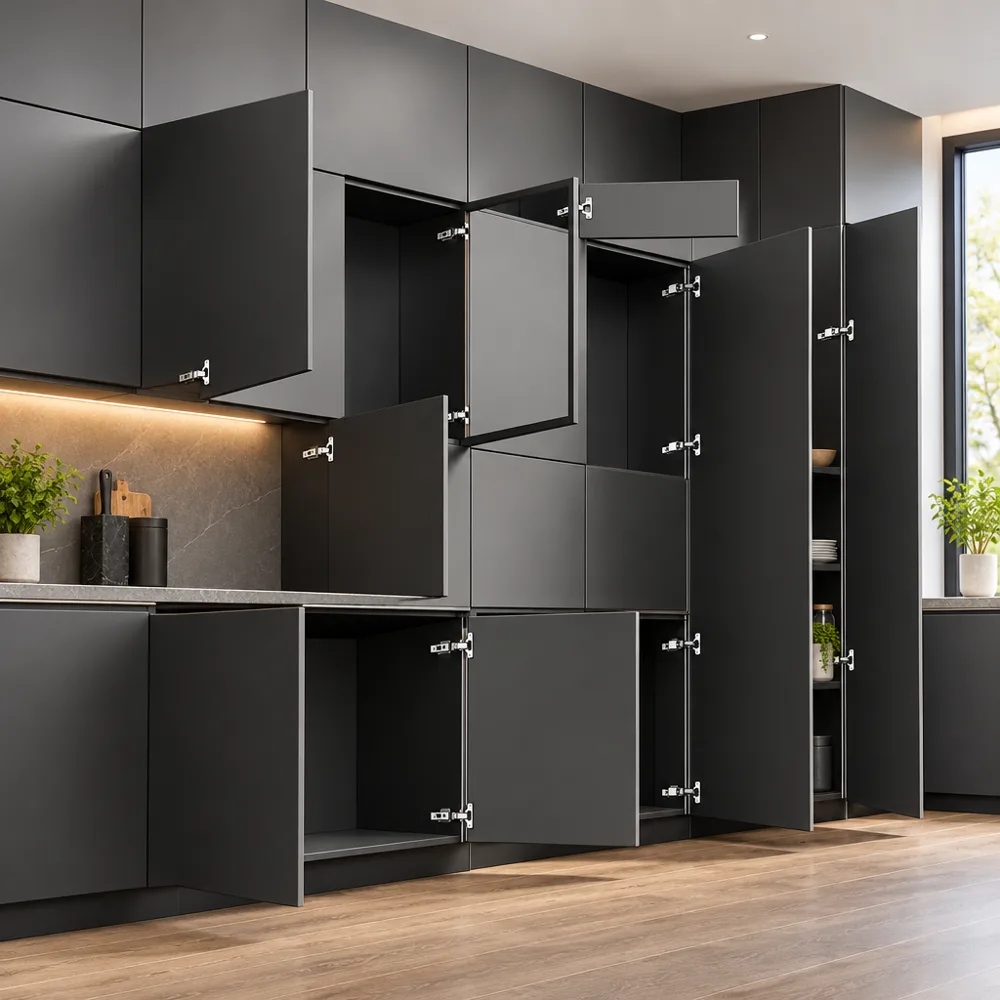
On heavily used cabinets, repeated hole repairs and shimming eventually stop working. The wood around the hinges can only be patched so many times. At that point, switching to concealed hinges with 3D adjustment turns future corrections into a few turns of a screwdriver. The switch involves drilling and new mounting plates, so weigh it against one more round of repairs.
Structural Limitations of Fixed-Pivot Exposed Hardware
A traditional exposed hinge carries the door’s weight through a small area, usually two or three wood screws per leaf. Seasonal swings in humidity make the wood expand and shrink around those screws. Knocks and impacts can contribute to fastener loosening over the years, especially when screws are near the edge grain or in softer wood species.
Many conventional exposed hinges lack integrated soft-close damping. Repeated use or slamming can contribute to fastener loosening, though the rate depends on the hinge design, mounting quality and door mass. Heavier doors place more load on the fasteners, which is why solid wood doors on thin stamped hinges tend to show sag sooner than lighter doors on heavier hardware.
The Mechanics of Modern 3D Alignment: Height, Depth, and Lateral Control
Concealed cup hinges deal with alignment differently. Instead of shims or redrilled holes, they use dedicated or interacting adjustment features to control height, lateral position and depth. Depending on the design, these features may be slots, cams or eccentric screws, and one adjustment can slightly affect another, so recheck all gaps after each change.
- Side-to-side adjustment: A cam screw moves the hinge arm across the plate, which changes the gap between the door and its neighbor.
- Height adjustment: Slotted or cam-adjusted mounting plates raise or lower the door so its top and bottom edges line up with adjacent doors.
- Depth adjustment: A separate screw moves the door toward or away from the cabinet, so it closes flush with neighboring doors.
Evaluating Modern Upgrades: Technical Profile of the Clip-on 3D Adjustment Hinge B20
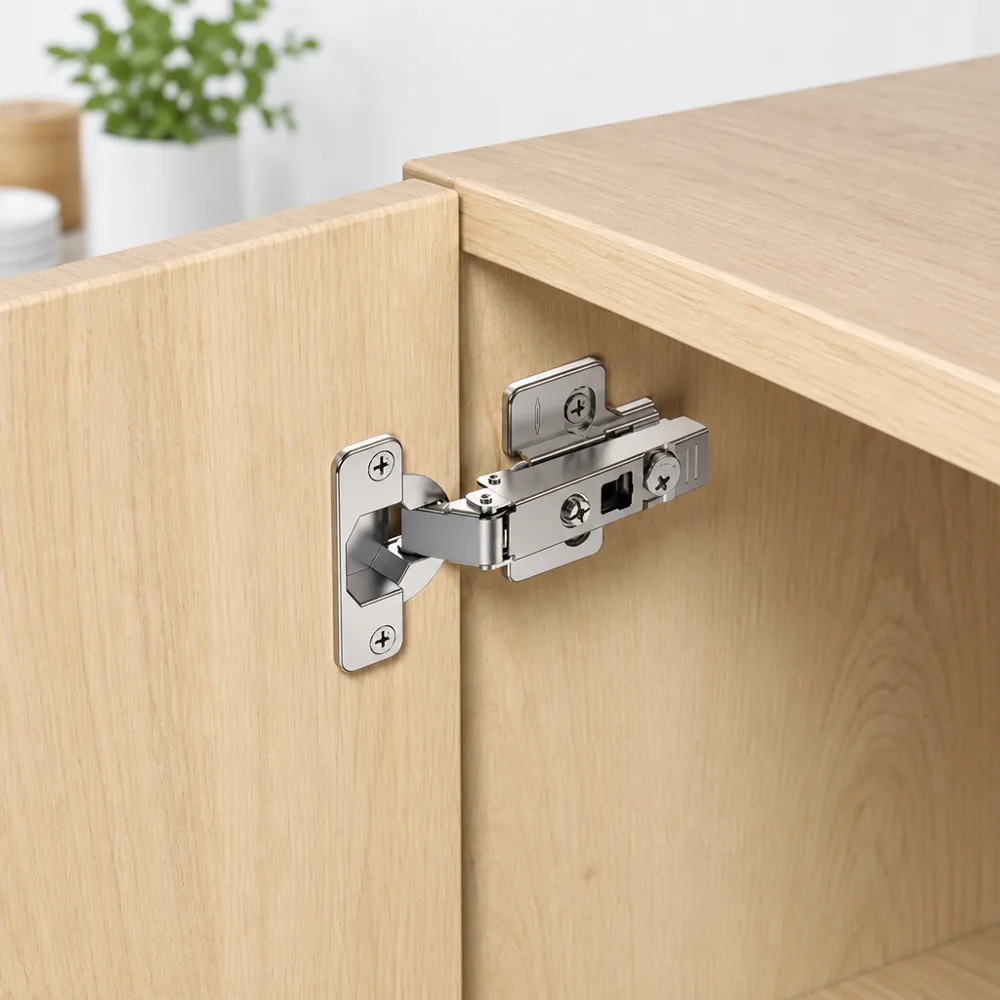
If converting to concealed hardware makes sense for your cabinets, compare candidate hinges on their stated specifications. One example is the Clip-on 3D Adjustment Regular Furniture Cabinet Door Hinge (Two-way) B20 from Xiangxing, a manufacturer founded in 1987 in Jinli Town, Guangdong Province. Its corporate information states that it passed ISO 9001:2000 quality management certification and product testing associated with SGS and ANSI/KCMA standards. Confirm the current certificate scope and validity with the supplier, since these statements describe the company and its testing rather than a certification issued for the B20 hinge itself.
The features below are the manufacturer’s stated product data, so confirm any figure that matters to your project with the supplier. They are still useful for comparison, because they show how the hinge adjusts, what it is made of and which door sizes it is designed for. According to that data, the B20 has these features:
- 3D adjustment: The door can be aligned in six directions, meaning both ways along three axes, after it is mounted.
- Two-force design: The product data says it manages opening and closing forces to reduce strain on the hinge cup and help prevent door damage.
- Plated iron construction: The iron body has copper and nickel plating that the manufacturer states can pass a 48-hour salt spray test.
- Heat-treated connecting parts: The manufacturer reports heat treatment to raise hardness, wear resistance and fatigue strength.
- Clip-on mounting: The arm clips onto the mounting plate, which the product data describes as quick and simple to install.
- Dimensions: Ø35mm cup diameter, 11.3mm cup depth, 110° opening angle, 14 to 22mm door thickness, 3 to 7mm K dimension, and hole pitch options of 45mm, 48mm or 52mm.
The listed uses include kitchen cabinets, bathroom vanities, home office storage, living room and dining room cabinets, and bedroom wardrobes. Before buying, check that the door thickness on your cabinets falls within the listed range and that the required cup-hole edge distance fits your door. Matching the specifications to your cabinet construction before ordering helps ensure the hinge fits and its adjustment range covers your doors.
Cabinet Modification Considerations: Mortise Cup Drilling vs. Face Frame Mounting
Replacing exposed hardware with a concealed hinge such as the B20 takes some woodworking. Each door needs a clean Ø35mm cup hole bored into its back face. The cup-hole edge distance must be set within the B20’s specified 3 to 7mm K range, using the manufacturer’s drilling diagram. Do not read K as the distance from the door edge to the center of the hole. Accurate boring placement helps the door swing correctly and leaves the adjustment screws enough range to align it later.
Next, consider the cabinet construction. Frameless cabinets accept standard mounting plates on the side panels, while face-frame cabinets need plates or adapters made for face frames. Confirm with the supplier which plate suits your cabinets. The old screw holes on the exterior will also need filling, sanding and a finish touch-up. Filling them neatly keeps the old hardware locations from showing through the finish.
Preventive Maintenance and Longevity Practices for Cabinet Doors
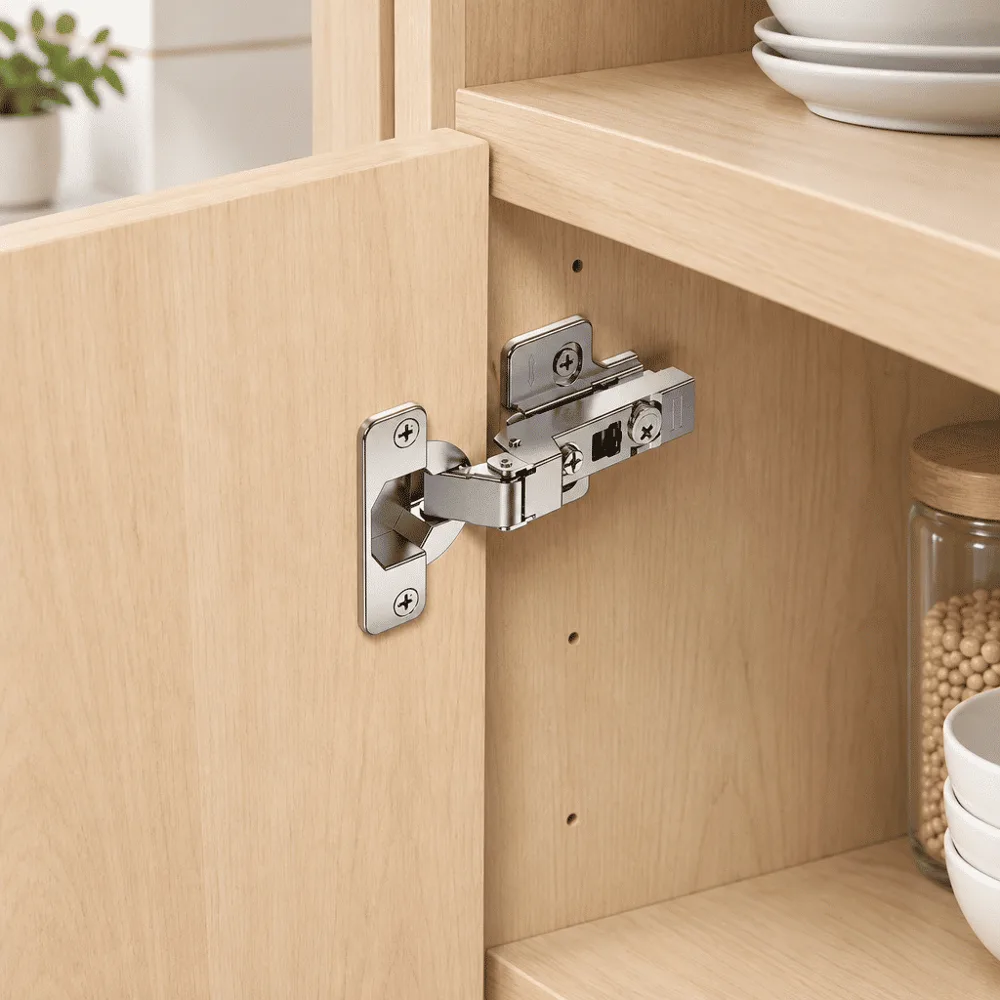
Keeping doors aligned for years mostly comes down to small habits. Regular care keeps stress off the screws and hinge joints, so a correct adjustment holds longer. The habits below cover how doors are opened, how hinges are cleaned and lubricated, and how much weight the doors carry. None of them takes more than a few minutes.
Balancing Opening Forces to Prevent Hinge Cup and Leaf Strain
How a door is opened affects the hinges. When someone yanks a door past its normal swing, the top hinge is pulled outward while the bottom hinge is pressed inward. Repeated often enough, this can loosen the screws on both. Opening doors gently, especially heavier solid wood doors, reduces that strain and helps the alignment stay where you set it.
Keep the hinges moving freely. A dry silicone or PTFE spray on exposed hinge pins reduces friction without leaving a sticky film. Heavy oils tend to collect dust and kitchen grease, and they can stain the wood near the hinge. Applying lubricant whenever the door squeaks or feels stiff keeps the pivot smooth and reduces the force needed to open it.
Preventing Corrosion in High-Humidity Kitchens and Bathrooms
Kitchens and bathrooms expose hardware to steam, moisture and grease. On unprotected steel, that moisture leads to rust, which can stiffen the pin and leave stains on the surrounding wood. Plated hardware generally holds up better in these rooms. The B20, for example, uses copper and nickel plating, which the manufacturer states can pass a 48-hour salt spray test.
Whatever the finish, wipe visible hinges now and then with a soft cloth dampened with warm water, then dry them right away. This simple step removes cooking residue and limits mineral deposits on the hinge barrel. In coastal homes, where salty air adds to the problem, ask the supplier about corrosion-resistant finishes suited to that environment.
Routine Screw Torque Checks and Weight Distribution Rules
Door-mounted spice racks and organizer bins add weight far from the hinge line, which pulls on the top screws. Keep door storage light, and spread the load so it does not hang mostly near one hinge. Storing heavy items on cabinet shelves instead of the door protects the hinges and makes the door easier to open.
Check the hinge screws periodically and whenever a door begins to sag, rub or feel loose. Use a hand screwdriver rather than an impact driver, and tighten until snug and no further. Gentle tightening avoids stripping holes in softwood or MDF, which keeps the door where you set it. Catching a slightly loose screw early is far easier than rebuilding a stripped hole later.
Frequently Asked Questions (FAQs)
Can you adjust exposed cabinet hinges without removing the door?
Yes, if the frame leaf has slotted screw holes. Support the bottom of the door, loosen the slot screws slightly, move the door, and retighten. Hinges with plain round holes usually need the door removed so you can add shims or repair stripped holes. Removing the door also makes it easier to see the hinge leaves and pilot holes clearly, which reduces the chance of stripping a screw during adjustment.
Why do my cabinet doors keep sagging even after tightening the screws?
If sag returns, the wood around the screws has probably stripped, or the hinge pin has worn or bent. A screw that spins cannot clamp the leaf against the wood. Rebuild the hole with a glued hardwood dowel, or replace the worn hinge, and the door should stay put. Repeated tightening without fixing the underlying cause just widens the hole further, so stop and repair the wood before the next attempt.
How do I know if my hinge is surface-mounted or semi-concealed?
Look at the cabinet with the door closed. If both leaves and all the screws are visible on the outside of the frame and door, the hinge is surface-mounted. If you see the frame leaf and knuckle but the door leaf is hidden behind the door, it is semi-concealed. If only the knuckle shows, it is a butt hinge. Knowing the hinge type before you start tells you where to work and which adjustment methods apply.
Can I replace exposed hinges with concealed 3D adjustable hinges on existing cabinets?
Yes, with some woodworking. You need to bore Ø35mm cup holes in the back of each door using a drill press or a hinge boring jig. You also need to fill and refinish the old exterior screw holes and choose mounting plates that suit your frameless or face-frame cabinets. The conversion takes time, but afterward most alignment corrections become screwdriver adjustments rather than woodwork. A cabinet maker can handle the drilling if you prefer professional installation.
How thick of a shim should I use behind an exposed hinge leaf?
Start with one thin layer, such as a business card or a piece of heavy cardstock. Where it goes, door-side or cabinet-side leaf and full or partial coverage, depends on the hinge geometry. On a butt hinge, the movement at the outer corner also depends on the door’s width compared with the distance between the hinges. Check the gaps after each layer, because stacking shims without testing often causes overcorrection or binding.
Conclusion
The key to how to align cabinet doors with exposed hinges is working in order. Check that the cabinet is plumb, level and square, use slotted holes where they exist, rebuild stripped screw holes with hardwood dowels, and use thin, tested shims for the remaining error. When the old hardware and the wood around it are worn out, concealed hinges with 3D adjustment, such as the clip-on B20, let you correct future alignment with a screwdriver. Starting with the simplest fix and moving forward only when needed saves time and protects your cabinets.
CONTACT US


GuangDong JinLi XiangXing Precision Metal Manufacturing Co., Ltd.
We are always providing our customers with reliable products and considerate services.
If you would like to keep touch with us directly, please go to contact us
-

Home
-

Tel
-

Email
-

Contact