
How to Clean Cabinet Hinges and Make Them Look Brand New Again
- By:
- Date:2025/10/28
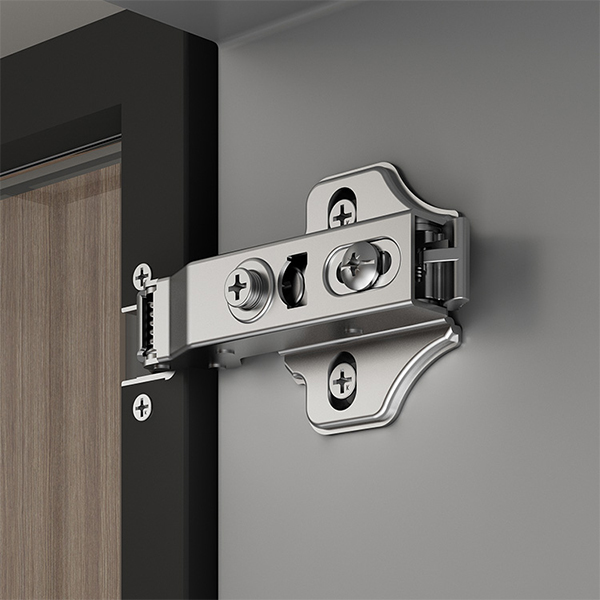
Although they tend to be neglected, cabinet hinges are one of the most important parts of a cabinet. They will become so dirty and greasy, and even rusty with age, so as to greatly impair their usefulness as well as their appearance. Although it may be difficult to clean, as long as the right tools and techniques are used, its luster can be restored and its service life can be prolonged.
Steps for Cleaning Cabinet Hinges
Keeping your cabinet hinges clean not only improves their appearance but also helps them function smoothly and last longer. Follow the steps below to properly clean and maintain your cabinet hinges.
Step 1: Prepare Cleaning Supplies
For the cleaning of cabinet hinges you will need to prepare the following materials: A soft clean cloth or rag, a toothbrush with soft bristles, soap or a mild degreaser, white vinegar, baking soda or washing thus, fine grit or sand paper, lubricant or lubricating oil, a small bowl of warm water, and a screwdriver (optional for removing hinges).
Step 2: Remove the Hinges (Optional)
If you want to give them a thorough cleaning, the best way is to take them off the cabinet door. Carefully unscrew the hinges from the cabinet door and rack with a screwdriver, and then soak them in a small bowl of warm soapy water for about 15 to 20 minutes. This helps to remove any accumulated grease, dirt, or dust. If you aren’t able to take the hinges off, you can still clean them by utilizing the following methods.
Step 3: Clean With Soapy Water
After soaking the hinges, dip a soft cloth into warm soapy water and then start wiping the hinges. Gently scrub any visible dirt, grease, or oil stains with a cloth. For hinges that cannot be disassembled, simply soak a cloth in soapy water and then carefully wipe the hinges.
Step 4: Use Baking Soda and Vinegar for Stubborn Dirt
If you encounter stubborn grease or dirt that cannot be removed by soapy water alone, you can make a more effective cleaner. Sprinkle a small amount of baking soda on the hinge, then add a few drops of white vinegar. Let it stand for about 10 minutes, and then gently scrub it with a toothbrush.
Step 5: Tackle Rust
If your cabinet hinges start to rust, soak a soft cloth in white vinegar and then wrap it around the affected area for about 10 to 15 minutes. Then, scrub the rust with a toothbrush or a soft brush. For more severe rust, you may need to gently wipe the corroded area with a fine steel wool ball or sandpaper.
Step 6: Dry the Hinges
After thoroughly cleaning the hinges, rinse them with warm water to remove any remaining detergent or dirt. Use a microfiber cloth to completely dry the hinges, making sure to remove all water stains.
Step 7: Lubricate the Hinges
After cleaning the hinges thoroughly, it’s time to lubricate them to ensure smooth operation and prevent dirt accumulation in the future. Apply lubricant to the moving parts of the hinge and ensure that the lubricant penetrates the gaps at the hinge pivot.
Step 8: Reinstall the Hinges
After cleaning and lubricating the hinges, they can be reinstalled onto the cabinet doors and frames. Align the hinges with the screw holes on the doors and cabinets, and then carefully screw them back to their original positions. Make sure the screws are tightened, but don’t tighten them too much, as this may damage the hinges or the wood.
Conclusion
Follow these simple steps, and your cabinet hinges will look brand new and function just like they did when they left the factory. For the next time the cabinet hinges begin to look old and rusty, now you will know how to restore and make the hinges look as good as new.
CONTACT US

GuangDong JinLi XiangXing Precision Metal Manufacturing Co., Ltd.
We are always providing our customers with reliable products and considerate services.
If you would like to keep touch with us directly, please go to contact us
-

Home
-

Tel
-

Email
-

Contact